今更ながらにMicrosoftのCognitive Services、Computer Vision APIがどんなものなのか、実際に使ってみることにしました。
紹介ページにある通り、このAPIを使うと画像の分析やサムネイルの作成、人やランドマークの認識といった、様々なことができるようですが、今回は触りやすそうな「文字認識(OCR)」を試してみます。
APIの無料枠
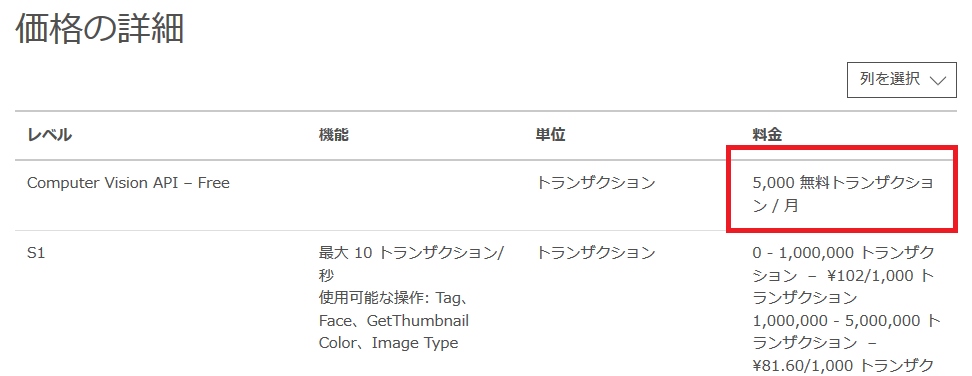
Computer Vision APIの価格ページにあるように、APIを利用するにはお金が掛かりますが、月5,000トランザクションまでなら無料で試用することができます。
APIキーの取得
APIを利用するに当たり、まずはAPIキーを取得します。
- Cognitive Servicesの試用ページを開きます。
- Computer Vision APIの横にある「API キーの取得」をクリックします。
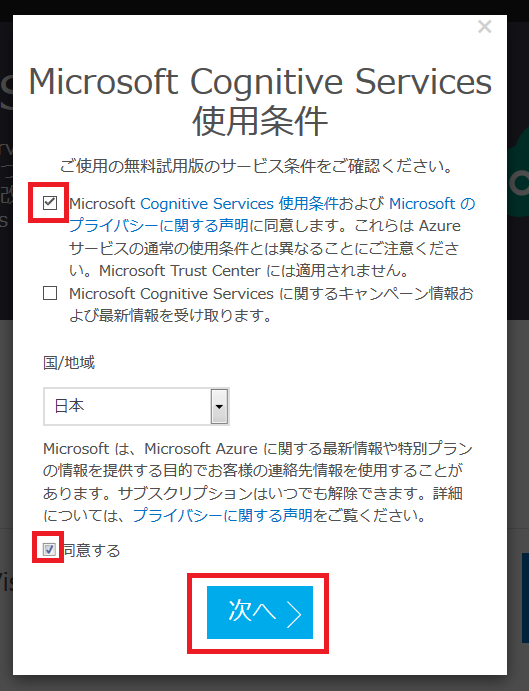
- Microsoft Cognitive Services 使用条件画面が表示されるので、使用条件に同意し、「次へ」をクリックします。
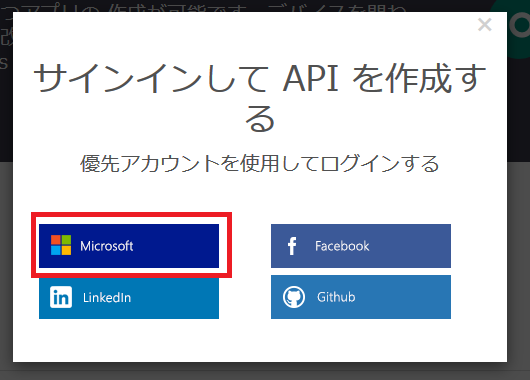
- サインイン選択画面が表示されるので、自分が使用しているサービスを選択します(今回はMicrosoft アカウント)。
- 無事にサインインが行われると、APIのエンドポイントとキーが2つ表示されます。後述するAPIの呼び出しには、このエンドポイントのURLとキーが必要になります。

Computer Vision APIによる文字認識
APIキーの準備ができたら、いよいよAPIを呼び出してみます。
今回はFiddlerのComposerを使います。
Fiddlerを使うと簡単にサーバーにリクエストを投げることができ、なおかつレスポンスも確認しやすいので便利です。
- リクエストURL:https://westcentralus.api.cognitive.microsoft.com/vision/v1.0/ocr?language=unk
- Ocp-Apim-Subscription-Keyヘッダ:APIキー
- POST送信
リクエストURLやパラメーターの詳しい説明は「Cognitive Services APIs Reference」に載っているので、そちらをご参照ください。
文字認識対象の画像には下記制限があり、バイナリで送ることもできますが、今回はURL指定(JSON)で実行します。
- ファイル形式:JPEG、PNG、GIF、BMP
- ファイルサイズ:4MB未満
- 画像の大きさ:40 x 40 から 3200 x 3200ピクセルまで。10メガピクセルを超えることはできない。
文字認識の結果
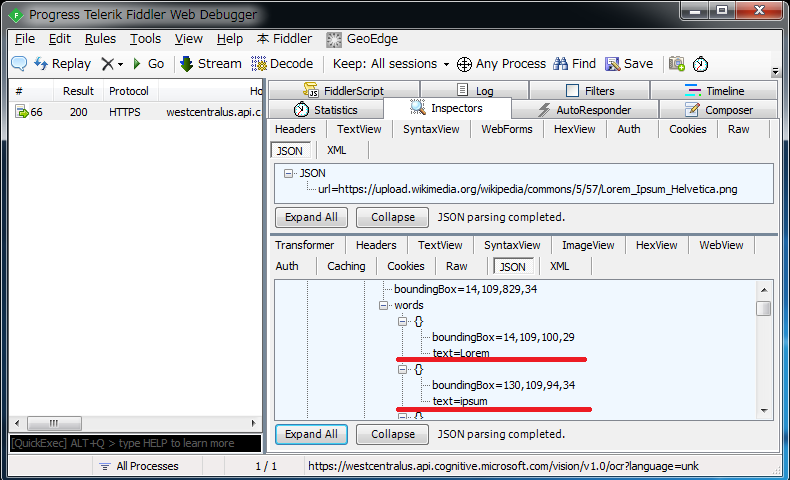
今回試した画像はコチラで、APIの実行結果は下記の通りでした。
{
    "language": "it",
    "textAngle": 0.0,
    "orientation": "Up",
    "regions": [{
        "boundingBox": "12,15,848,968",
        "lines": [{
            "boundingBox": "14,15,146,28",
            "words": [{
                "boundingBox": "14,15,146,28",
                "text": "Helvetica"
            }]
        }, {
            "boundingBox": "14,109,829,34",
            "words": [{
                "boundingBox": "14,109,100,29",
                "text": "Lorem"
            }, {
                "boundingBox": "130,109,94,34",
                "text": "ipsum"
            }, {
                "boundingBox": "238,109,85,29",
                "text": "dolor"
            }, {
                "boundingBox": "334,109,37,29",
                "text": "sit"
            }, {
                "boundingBox": "382,110,87,33",
                "text": "amet,"
            }, {
                "boundingBox": "481,110,175,28",
                "text": "consetetur"
            }, {
                "boundingBox": "667,109,176,34",
                "text": "sadipscing"
            }]
        }, {
            "boundingBox": "13,156,802,34",
            "words": [{
                "boundingBox": "13,156,63,34",
                "text": "elitr,"
            }, {
                "boundingBox": "88,156,58,29",
                "text": "sed"
            }, {
                "boundingBox": "160,156,77,29",
                "text": "diam"
            }, {
                "boundingBox": "252,163,131,27",
                "text": "nonumy"
            }, {
                "boundingBox": "394,156,111,29",
                "text": "eirmod"
            }, {
                "boundingBox": "519,157,115,33",
                "text": "tempor"
            }, {
                "boundingBox": "647,156,126,29",
                "text": "invidunt"
            }, {
                "boundingBox": "785,157,30,28",
                "text": "ut"
            }]
        }, {
            "boundingBox": "15,203,781,34",
            "words": [{
                "boundingBox": "15,203,100,29",
                "text": "labore"
            }, {
                "boundingBox": "127,204,30,27",
                "text": "et"
            }, {
                "boundingBox": "168,203,104,29",
                "text": "dolore"
            }, {
                "boundingBox": "285,210,110,27",
                "text": "magna"
            (中略)
            }, {
                "boundingBox": "806,908,37,29",
                "text": "sit"
            }]
        }, {
            "boundingBox": "13,956,86,27",
            "words": [{
                "boundingBox": "13,956,86,27",
                "text": "amet."
            }]
        }]
    }]
}
結果を見る限り、思った以上にちゃんと認識できていました。
今回はOCR機能を使っただけですが、Computer Vision APIにはその他にも様々な機能が用意されています。
月5,000トランザクションまでなら、簡単な登録で、しかも無料で利用することができるので、興味がある方は是非お試しください!








この記事へのコメントはありません。